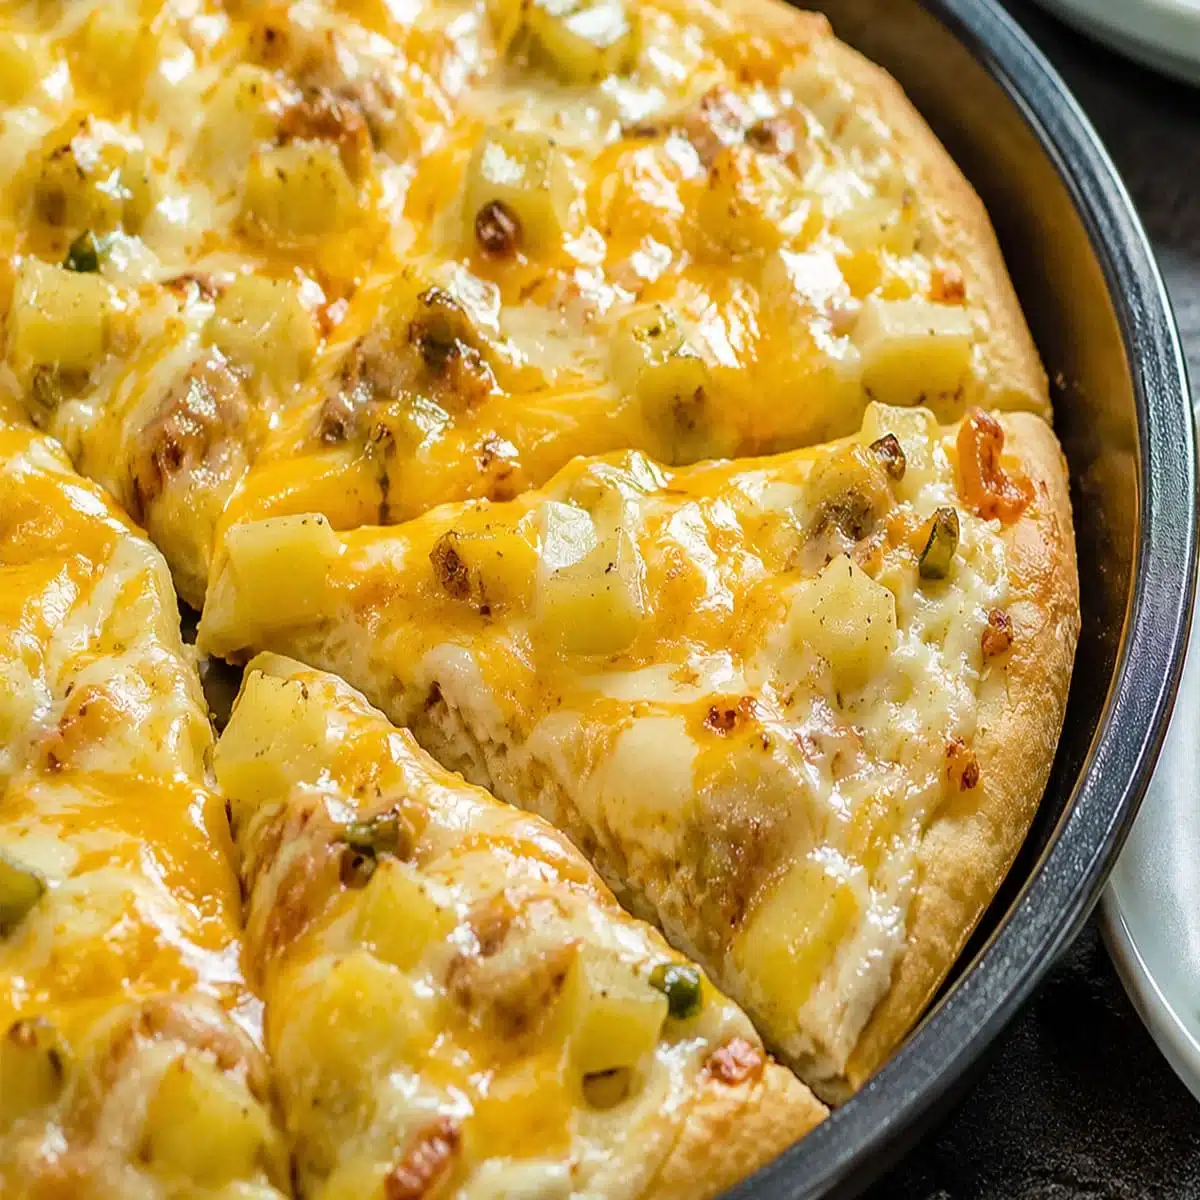
Cheesy Chicken Potato Nests are golden, crispy potato cups filled with tender chicken, garlic, onion, sour cream, mozzarella, and cheddar for a cozy easy crispy dinner that smells warm, buttery, and savory as it bakes. These crispy chicken potato nests remind me of family snack nights, when everyone reaches for the cheesiest bite first and waits for that irresistible cheese pull.
The shredded potato nests turn beautifully crunchy around the edges, while the creamy chicken filling stays juicy, rich, and comforting inside. If you love chicken stuffed potato nests, cheesy potato cups with chicken, or a family-friendly potato dinner, try this recipe today, save it, and share it.
Quick Overview
Cheesy Chicken Potato Nests are crispy shredded potato cups baked in a muffin tin and filled with a creamy chicken, onion, garlic, sour cream, mozzarella, and cheddar mixture. The main technique is squeezing excess moisture from the potatoes, pressing them firmly into muffin cups, filling the centers, and baking at 375°F for 30 to 35 minutes until golden, crisp, bubbly, and melted.
Quick Success Notes
Pan Size: Standard muffin tin
Oven Temperature: 375°F
Prep Time: Estimated 20 minutes
Cook Time: 30 to 35 minutes
Total Time: Estimated 55 minutes, including 5 minutes resting time
Texture Goal: Crispy golden potato edges with a creamy, juicy, cheesy chicken center
Main Technique: Squeeze the shredded potatoes dry, shape them into muffin tin nests, fill with creamy chicken mixture, and bake until crisp
Biggest Mistake to Avoid: Leaving too much moisture in the shredded potatoes, which can make the nests soft instead of crispy
Best Make-Ahead Tip: Prepare the chicken filling ahead and shred the potatoes closer to baking for the best texture
Doneness Cue: Potato edges should be deeply golden, crisp, and browned, while the cheese should look melted and bubbly
Cooling or Resting Cue: Let the nests rest in the muffin tin for 5 minutes before removing so they hold their shape
Top Reasons This Cheesy Chicken Potato Nests Is a Keeper
- The shredded potato base turns crisp around the edges, creating a golden shell that holds the creamy chicken filling beautifully.
- The chicken, sour cream, onion, garlic, mozzarella, cheddar, and paprika create a rich filling with savory flavor, creamy texture, and plenty of melted cheese.
- The muffin tin method makes this crispy potato cups recipe easy to portion, serve, and share for family meals or party appetizers.
- The recipe is flexible because you can serve the nests as lunch, dinner, appetizers, or a snack with a dipping sauce or simple salad.
- The short rest after baking helps the potato nests firm up, which makes them easier to remove without breaking.
- The recipe works well with cooked chicken breast or rotisserie chicken, so it can be made faster on busy days.
- The biggest texture secret is removing moisture from the potatoes before baking, which helps prevent soggy edges.
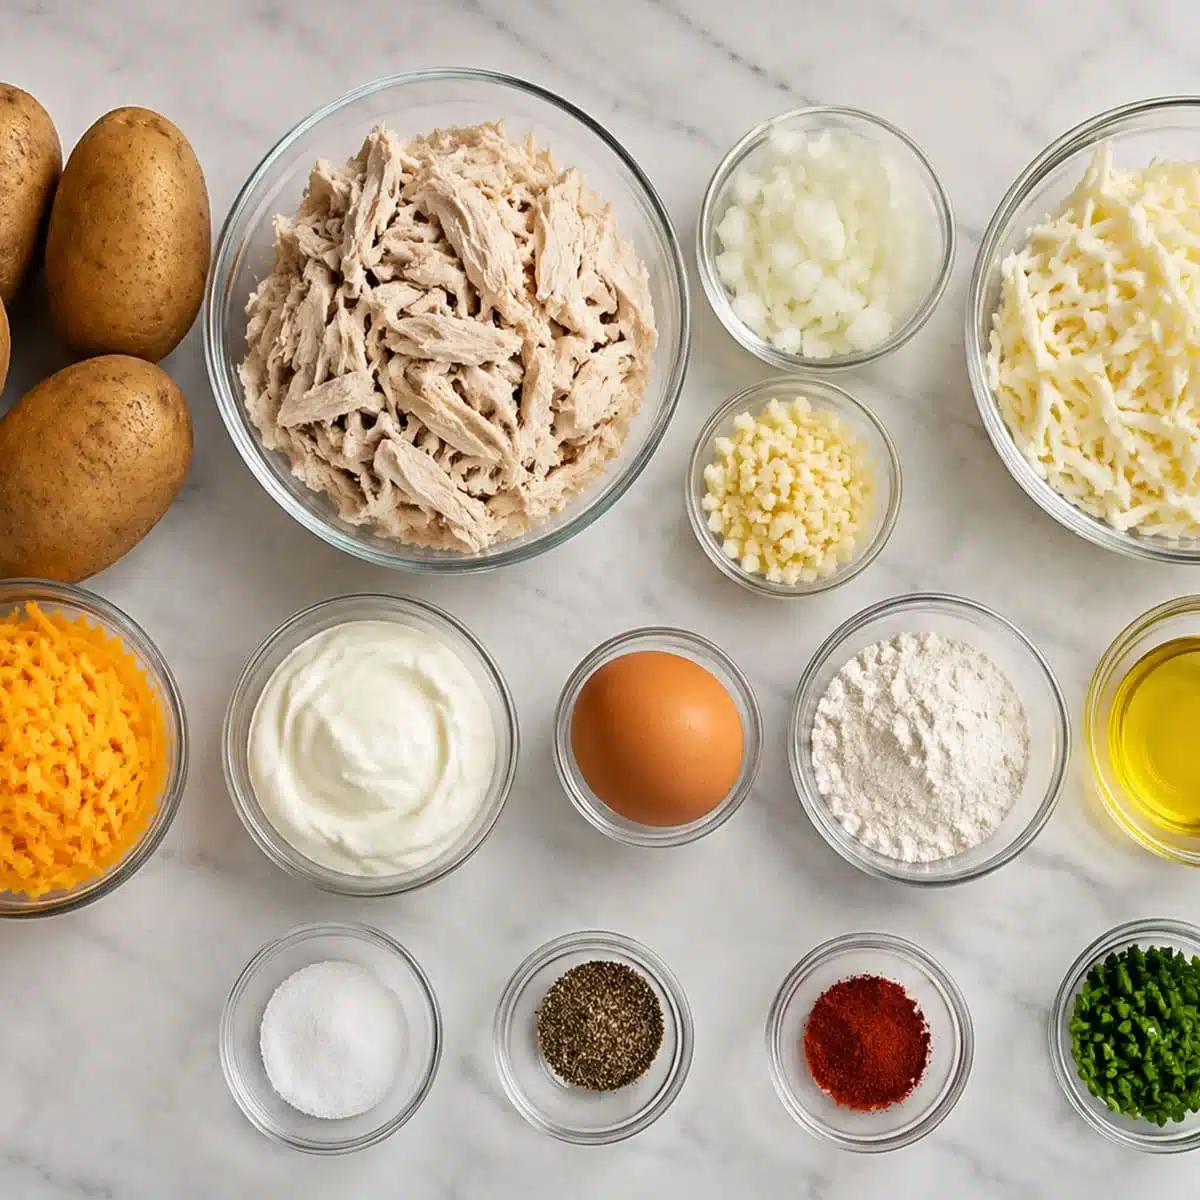
Ingredients for Cheesy Chicken Potato Nests
4 medium potatoes, peeled and shredded
2 cups cooked chicken breast, diced or shredded
1 small onion, finely chopped
2 garlic cloves, minced
1 cup shredded mozzarella cheese
1 cup shredded cheddar cheese
3 tablespoons sour cream
1 egg
2 tablespoons all-purpose flour
2 tablespoons olive oil or melted butter
1 teaspoon salt
1/2 teaspoon black pepper
1/2 teaspoon paprika
1 tablespoon chopped chives or parsley, for garnish
Ingredient Breakdown
Potatoes create the crisp nest base. Use medium potatoes and shred them finely enough to press into muffin cups, but not so finely that they become mushy.
The most important step is squeezing the shredded potatoes very dry. If the potatoes hold too much water, they will steam instead of crisp.
Cooked chicken breast gives the filling a juicy, hearty texture. You can dice it for chunkier bites or shred it for a softer, more blended filling.
Onion adds sweetness and savory depth. Finely chopping it helps it soften inside the filling without creating large pieces.
Garlic gives the filling warmth and aroma. Fresh minced garlic works well because it spreads through the sour cream and cheese mixture.
Mozzarella cheese creates that stretchy, melty center. It helps the filling feel creamy and gives each nest a beautiful cheese pull when served warm.
Cheddar cheese adds sharper flavor and golden color. In addition, it makes the filling taste richer and more comforting.
Sour cream brings moisture and tang. It helps bind the chicken filling and keeps the inside juicy instead of dry.
The egg helps bind the shredded potato mixture. It gives the nests structure so they hold together after baking.
All-purpose flour helps absorb moisture and stabilize the potato shell. However, avoid adding too much, because the potato edges should still feel light and crisp.
Olive oil or melted butter helps the potatoes brown. Butter gives a richer flavor, while olive oil keeps the taste slightly lighter.
Salt and black pepper season both the potato base and filling. Seasoning in layers helps the whole bite taste balanced.
Paprika adds mild warmth and color to the chicken filling. It pairs especially well with chicken, cheese, garlic, and potato.
Chives or parsley add freshness at the end. They also make the finished nests look brighter and more appetizing.
Smart Substitutions
For a gluten-free version, use a gluten-free all-purpose flour blend instead of regular flour.
For a dairy-free version, use dairy-free sour cream and dairy-free shredded cheese alternatives.
For a healthier option, use olive oil instead of melted butter and serve the nests with a crisp salad.
For a budget version, use leftover cooked chicken and basic shredded cheddar.
For a kid-friendly version, keep the paprika mild and serve the nests with a creamy dipping sauce.
For a spicier version, add a small pinch of extra paprika or a little chili seasoning to the filling.
For a higher-protein version, use extra cooked chicken breast and slightly reduce the cheese if desired.
Step-by-Step Guide to Cheesy Chicken Potato Nests
Step One – Prepare the Oven and Muffin Tin
Preheat your oven to 375°F. Then grease a muffin tin well or coat it lightly with nonstick spray.
This step helps the potato nests release cleanly after baking. Because shredded potatoes can stick as they crisp, make sure the bottom and sides of each muffin cup are coated.
Step Two – Dry the Shredded Potatoes
Place the peeled and shredded potatoes in a clean kitchen towel. Then squeeze firmly to remove as much excess moisture as possible.
The potatoes should feel drier and lighter after squeezing. However, if they still feel wet, squeeze again because moisture is the main reason potato nests turn soft instead of crisp.
Step Three – Mix the Potato Base
Transfer the squeezed potatoes to a large bowl. Add the egg, flour, olive oil or melted butter, half of the salt, and a little black pepper.
Stir until the potatoes are evenly coated and lightly bound together. The mixture should hold when pressed, but it should still look like shredded potatoes rather than mashed potatoes.
Step Four – Make the Creamy Chicken Filling
In another bowl, combine the cooked chicken, chopped onion, minced garlic, sour cream, mozzarella cheese, cheddar cheese, paprika, and the remaining salt and pepper.
Mix until the filling looks creamy, thick, and evenly combined. The cheese should be spread throughout the chicken so every nest gets a melty center.
Step Five – Shape the Potato Nests
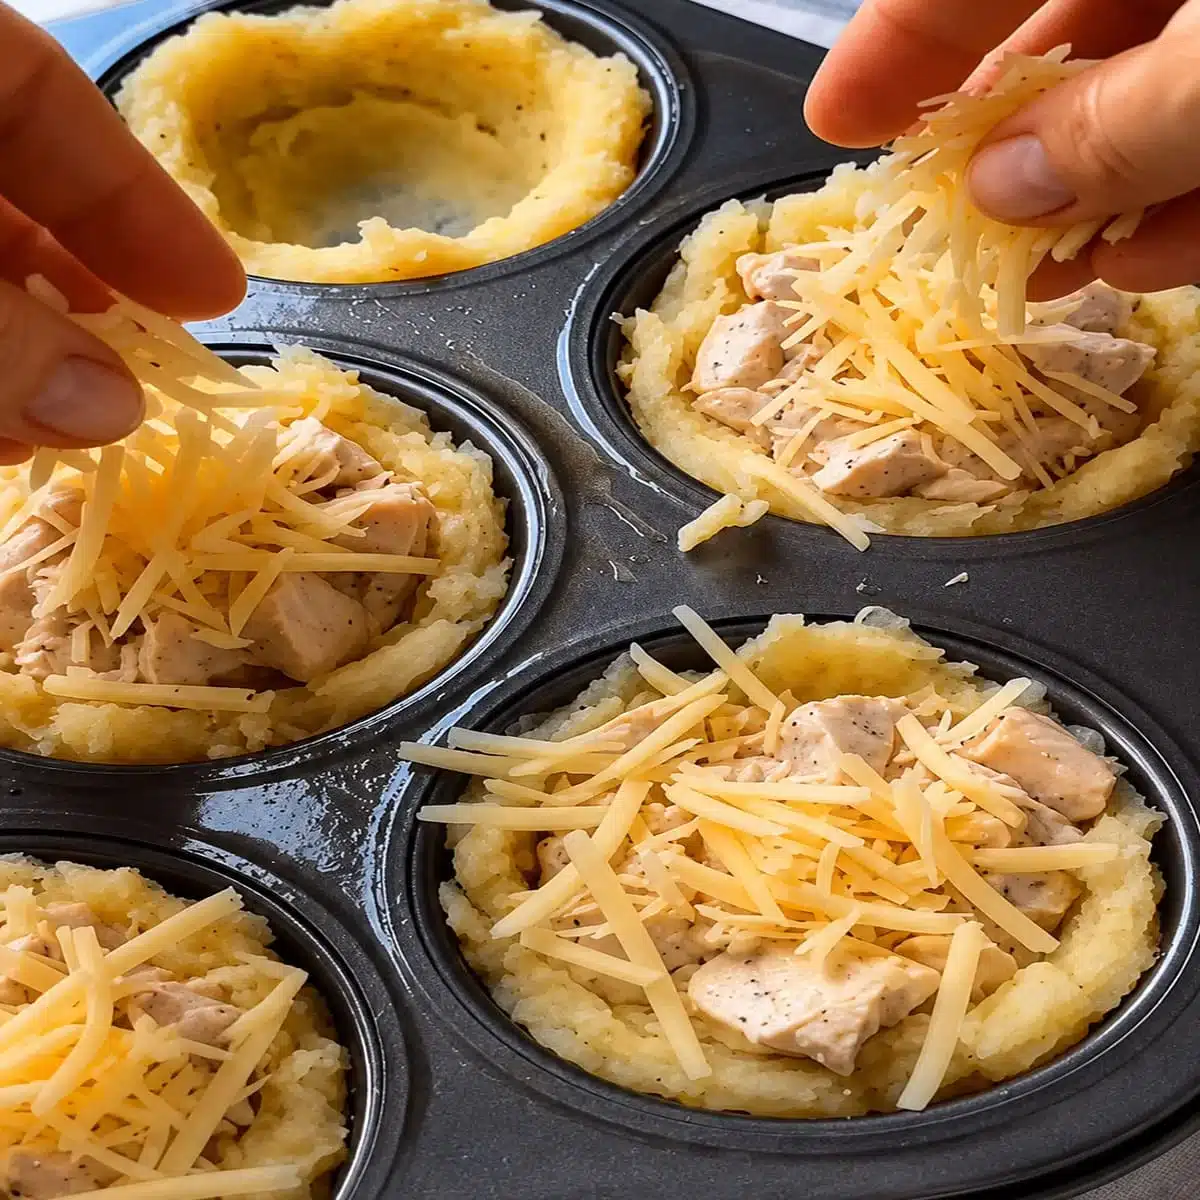
Divide the potato mixture among the muffin cups. Then press the shredded potatoes firmly into the bottom and up the sides of each cup to create little nests.
Use your fingers or the back of a spoon to shape the hollow center. However, do not make the bottom too thin, or the filling may push through after baking.
Step Six – Fill the Centers
Spoon the chicken filling into each potato nest. Press it gently into the center without flattening the potato sides.
The nests should look full but not overflowing. If desired, add a little extra cheese on top for a more bubbly, golden finish.
Step Seven – Bake Until Golden and Bubbly
Bake for 30 to 35 minutes, or until the potato edges are golden brown and crispy and the cheese is melted and bubbly.
The edges should look crisp, browned, and slightly lifted from the muffin tin. If the tops are melted but the potato edges still look pale, continue baking a few more minutes.
Step Eight – Rest, Garnish, and Serve
Let the nests rest in the pan for 5 minutes before removing them. Then gently loosen the edges and lift them out carefully.
Sprinkle with chopped chives or parsley and serve warm. The best texture comes when the potatoes are crisp and the cheese is still soft, hot, and stretchy.
Cooking Tips You Shouldn’t Skip
Squeeze the potatoes as dry as possible before mixing. This is the most important step for crisp edges.
Grease the muffin tin well so the nests release cleanly after baking.
Use cooked chicken to keep the recipe quick and reliable.
Rotisserie chicken works well when you need a faster shortcut.
Press the potato mixture firmly into the muffin cups so the nests hold their shape.
Do not make the potato walls too thin, because they need structure around the filling.
Use both mozzarella and cheddar for the best combination of stretch and flavor.
Add a little extra cheese on top if you want a more golden, bubbly finish.
Let the nests rest for 5 minutes before removing them from the pan.
Use a spoon or small offset spatula to loosen the edges gently.
Serve the nests hot for the best cheese pull.
Add Parmesan to the potato mixture if you want a deeper savory flavor.
Use dried herbs or onion powder for extra seasoning, but keep the base balanced.
Reheat leftovers in the oven or air fryer so the potato edges stay crisp.
Avoid reheating too long, because the chicken filling can dry out.
Simple Fixes for Better Results
Why are my potato nests soggy?
The potatoes likely held too much moisture. Shredded potatoes release a lot of water, so squeeze them firmly in a clean towel before mixing. Also, avoid underbaking, because the edges need enough time to brown and crisp.
Why did my nests fall apart?
The potato mixture may not have been pressed firmly enough into the muffin tin. The egg and flour help bind the potatoes, but shaping matters too. Press the base and sides well, then let the nests rest 5 minutes before removing.
Why did the filling look watery?
The onion, chicken, or sour cream may have released moisture during baking. Use cooked chicken that is not overly wet, finely chop the onion, and avoid adding extra sour cream beyond the recipe amount.
Why did the edges brown but the center stayed soft?
The potato edges crisp faster because they touch the hot muffin tin. However, the center stays softer because it holds the filling. Bake until the cheese bubbles and the potato edges are golden, then rest before serving.
Why did the nests stick to the muffin tin?
The tin may not have been greased well enough. Shredded potatoes can stick as they brown, especially around the sides. Next time, grease each muffin cup thoroughly before pressing in the potato mixture.
Why is the filling dry?
The chicken may have been too dry before mixing, or the nests may have baked too long. Sour cream helps keep the center creamy, so make sure it is evenly mixed through the chicken and cheese.
How do I get a stronger cheese pull?
Serve the nests hot, right after the 5-minute rest. Mozzarella gives the best stretch, while cheddar gives flavor. Also, make sure the cheese is mixed into the filling and melted fully before serving.
How do I remove the nests cleanly?
Let them rest for 5 minutes first. Then run a small spoon or thin spatula around the edges and lift gently from the bottom. If you remove them immediately, the hot filling may make them fragile.
Variations & Substitutions
Healthier version: Use olive oil instead of melted butter and serve with a green salad.
Kid-friendly version: Keep the seasoning mild and serve with a creamy dipping sauce.
Budget version: Use leftover cooked chicken, basic cheddar, and pantry seasonings.
High-protein version: Add extra cooked chicken breast to the filling.
Spicy version: Add more paprika or a pinch of chili seasoning to the chicken mixture.
Holiday version: Garnish with parsley and serve as a warm appetizer on a platter.
Flavor remix: Add dried herbs, onion powder, or a small amount of Parmesan to the potato mixture.
Freezer strategy: Freeze baked nests after cooling, then reheat in the oven or air fryer.
Make-ahead method: Prepare the chicken filling ahead, then shred and shape the potatoes before baking.
Dietary swap: Use gluten-free flour for a gluten-free version, and use dairy-free alternatives for a dairy-free version.
Serving Suggestions for Any Occasion
Cheesy Chicken Potato Nests are delicious on their own because they already include crispy potatoes, creamy chicken, garlic, sour cream, and melted cheese. However, a few simple sides make them feel like a complete meal.
For weeknights, serve them with a crisp green salad or roasted vegetables. The fresh crunch balances the warm cheese and potatoes.
For lunch, pair them with a creamy dipping sauce and sliced vegetables. In addition, they make a fun handheld-style bite for busy days.
For parties, arrange them on a platter and garnish with chopped chives or parsley. They look golden, cozy, and easy to grab.
For family dinners, serve them with extra sour cream or a simple sauce on the side. The creamy dip makes them even more comforting.
For meal prep, store them in containers and reheat in the air fryer or oven to bring back the crispy edges.
Would you serve these crispy chicken potato nests as a cozy dinner, party appetizer, or after-school snack?
Nutrition Breakdown
Estimated per serving:
Calories: 245
Protein: 17g
Carbs: 19g
Fat: 12g
Sugar: 2g
Fiber: 2g
Sodium: 410mg
Cholesterol: Estimated 65mg
Nutrition values are estimates and may vary depending on potato size, cheese brand, chicken breast, sour cream, flour, and whether olive oil or butter is used.
Storage & Reheating
At room temperature, do not leave Cheesy Chicken Potato Nests out for more than 2 hours. Because they contain cooked chicken, egg, sour cream, and cheese, refrigerate leftovers promptly.
Store leftovers in an airtight container in the refrigerator for up to 3 days. Keep them in a single layer if possible so the potato edges do not soften too much.
To freeze, let the baked nests cool completely. Then place them on a tray until firm, transfer to a freezer-safe container, and freeze for up to 2 months.
To thaw, place frozen nests in the refrigerator overnight. This helps the chicken filling warm more evenly later.
For best reheating, use the oven or air fryer. Heat until the centers are warm and the potato edges become crisp again.
The microwave works in a pinch, but the potato edges will soften. If using the microwave, reheat briefly and finish in the air fryer if possible.
Do not reheat repeatedly. Warm only the portion you plan to eat so the chicken filling stays safe and the potato texture stays better.
For make-ahead cooking, prepare the filling in advance and store it chilled. Then shred, squeeze, and shape the potatoes right before baking.
Best Reader Questions Answered Quickly
Can I use rotisserie chicken? Yes, rotisserie chicken makes this recipe quicker and adds extra flavor.
How do I make the nests crispy? Squeeze the shredded potatoes very dry before mixing and baking.
Can I make them ahead? Prepare the filling ahead, but shape the potato nests close to baking.
How long do leftovers last? Store leftovers in the refrigerator for up to 3 days.
What is the best way to reheat them? Reheat in the oven or air fryer for crispy edges.

Cheesy Chicken Potato Nests FAQs
How do you make potato nests?
To make potato nests, shred peeled potatoes, squeeze out as much moisture as possible, then mix them with egg, flour, oil or melted butter, salt, and pepper. Press the mixture into a greased muffin tin to form cups, fill with creamy chicken and cheese, then bake until golden and crisp.
How to make chicken potato nests in the oven?
To make chicken potato nests in the oven, shape shredded potato mixture into muffin tin cups, then fill each nest with cooked chicken, onion, garlic, sour cream, mozzarella, cheddar, and paprika. Bake at 375°F for 30 to 35 minutes, until the potato edges are crispy and the cheese is melted.
What can I make with chicken breast and potatoes easily?
You can make Cheesy Chicken Potato Nests with cooked chicken breast, shredded potatoes, sour cream, garlic, onion, mozzarella, and cheddar. This easy chicken potato dinner bakes in a muffin tin, creating crispy potato cups with a creamy, cheesy chicken filling inside.
Can I use mashed potatoes instead of shredded potatoes for chicken potato nests?
Yes, you can use mashed potatoes, but the texture will be softer and less crispy. Shredded potatoes create the best golden edges for chicken potato nests. If using mashed potatoes, make sure they are thick, chilled, and not too creamy so the nests hold their shape.
Why can’t chickens eat raw potatoes?
Raw potatoes, especially green potatoes or potato skins with sprouts, can contain solanine, which may be unsafe for chickens. This does not affect this recipe, because Cheesy Chicken Potato Nests are made for people and use fully baked potatoes with cooked chicken and melted cheese.
More Recipes You’ll Love
Try ourHigh Protein Honey BBQ Chicken Mac and Cheese Recipe.
Save our Elegant Teriyaki Chicken Avocado Rice Stack Meal.
Make our Cheesy Chicken Veggie Sheet Pan Dinner Easy Meal next.
Explore our 12 Best Chicken Recipes for Easy Family Dinners in 2027.
Final Bite
Cheesy Chicken Potato Nests bring everything people love about comfort food into one golden, crispy, cheesy bite. They are warm, savory, creamy in the center, and crisp around the edges, making them perfect for family dinners, casual gatherings, lunch, or party appetizers.
They also feel fun to serve because each nest looks like a little homemade potato cup filled with tender chicken and melted cheese. In addition, the simple ingredients make the recipe approachable, satisfying, and easy to repeat.
Would you serve these with a creamy dipping sauce or a fresh green salad? And would you make them for dinner, appetizers, or a cozy family snack?
Save this recipe, share it with someone who loves cheesy potato recipes, and leave a comment with your favorite way to enjoy crispy potato bites.
Print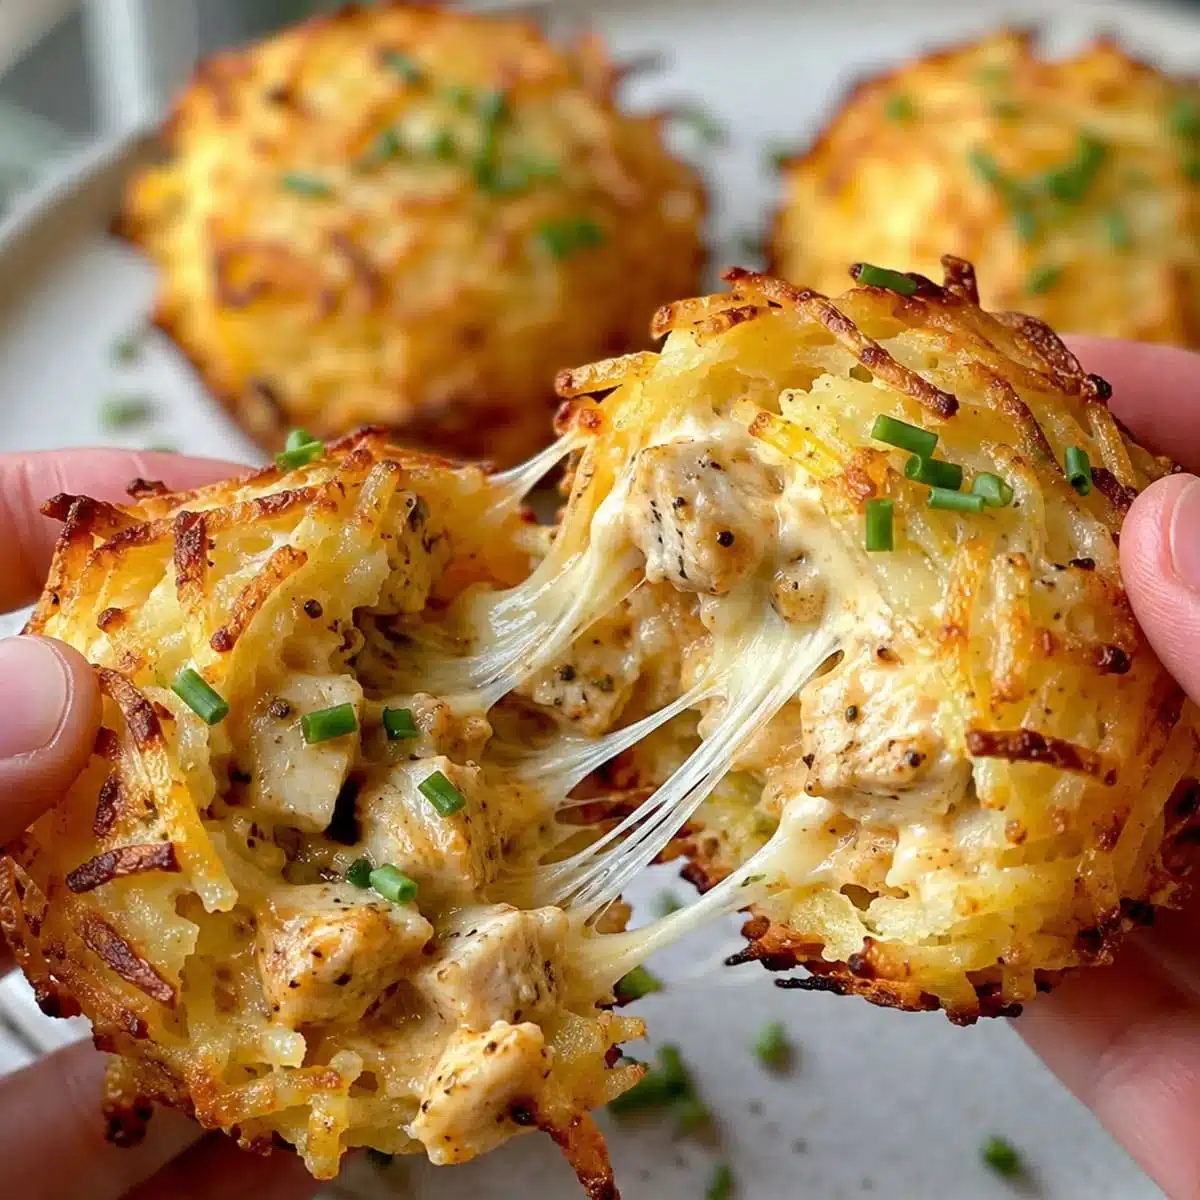
Cheesy Chicken Potato Nests – Easy Chicken Appetizer
- Total Time: 55 minutes
- Yield: 12 potato nests 1x
- Diet: Halal
Description
Cheesy Chicken Potato Nests are crispy shredded potato cups filled with tender chicken, garlic, onion, sour cream, mozzarella, cheddar, and herbs for an easy baked dinner or appetizer.
Ingredients
- 4 medium potatoes, peeled and shredded
- 2 cups cooked chicken breast, diced or shredded
- 1 small onion, finely chopped
- 2 garlic cloves, minced
- 1 cup shredded mozzarella cheese
- 1 cup shredded cheddar cheese
- 3 tablespoons sour cream
- 1 egg
- 2 tablespoons all-purpose flour
- 2 tablespoons olive oil or melted butter
- 1 teaspoon salt
- 1/2 teaspoon black pepper
- 1/2 teaspoon paprika
- 1 tablespoon chopped chives or parsley, for garnish
Instructions
- Preheat the oven to 375°F or 190°C. Grease a standard muffin tin well or lightly coat it with nonstick spray.
- Place the shredded potatoes in a clean kitchen towel and squeeze out as much excess moisture as possible.
- Transfer the squeezed potatoes to a large bowl and mix with the egg, flour, olive oil or melted butter, half of the salt, and a little black pepper until evenly combined.
- In another bowl, combine the cooked chicken, chopped onion, minced garlic, sour cream, mozzarella cheese, cheddar cheese, paprika, and the remaining salt and pepper.
- Mix the chicken filling until it looks creamy, thick, and evenly combined.
- Divide the potato mixture among the muffin cups and press it firmly into the bottom and up the sides of each cup to create nest shapes.
- Spoon the chicken filling into each potato nest and press it gently into the center.
- Add a little extra cheese on top if desired.
- Bake for 30 to 35 minutes, or until the potato edges are golden brown and crispy and the cheese is melted and bubbly.
- Let the nests rest in the muffin tin for 5 minutes before removing them.
- Gently loosen the edges, remove the nests from the pan, garnish with chopped chives or parsley, and serve warm.
Notes
- Squeeze the shredded potatoes very dry before mixing to help the nests bake crispy instead of soft.
- Use cooked chicken breast or rotisserie chicken to make the recipe faster.
- Grease the muffin tin well so the potato nests release cleanly after baking.
- Press the potato mixture firmly into the muffin cups so the nests hold their shape.
- Do not make the potato walls too thin, or they may break when removed from the pan.
- Use mozzarella for stretch and cheddar for rich cheesy flavor.
- Add a small amount of Parmesan, dried herbs, or onion powder to the potato mixture for extra flavor.
- Let the nests rest for 5 minutes before removing them so they firm up.
- Serve hot for the best cheese pull and crispy potato texture.
- Store leftovers in an airtight container in the refrigerator for up to 3 days.
- Reheat in the oven or air fryer to keep the potato edges crispy.
- Freeze baked nests after cooling, then reheat in the oven or air fryer for best results.
- Prep Time: 20 minutes
- Cook Time: 30 to 35 minutes
- Category: Appetizer, Dinner, Snack
- Method: Baking
- Cuisine: American
Nutrition
- Serving Size: 1 potato nest
- Calories: Estimated 245 kcal
- Sugar: Estimated 2g
- Sodium: Estimated 410mg
- Fat: Estimated 12g
- Saturated Fat: Estimated 6g
- Unsaturated Fat: Estimated 5g
- Trans Fat: 0g
- Carbohydrates: Estimated 19g
- Fiber: Estimated 2g
- Protein: Estimated 17g
- Cholesterol: Estimated 65mg