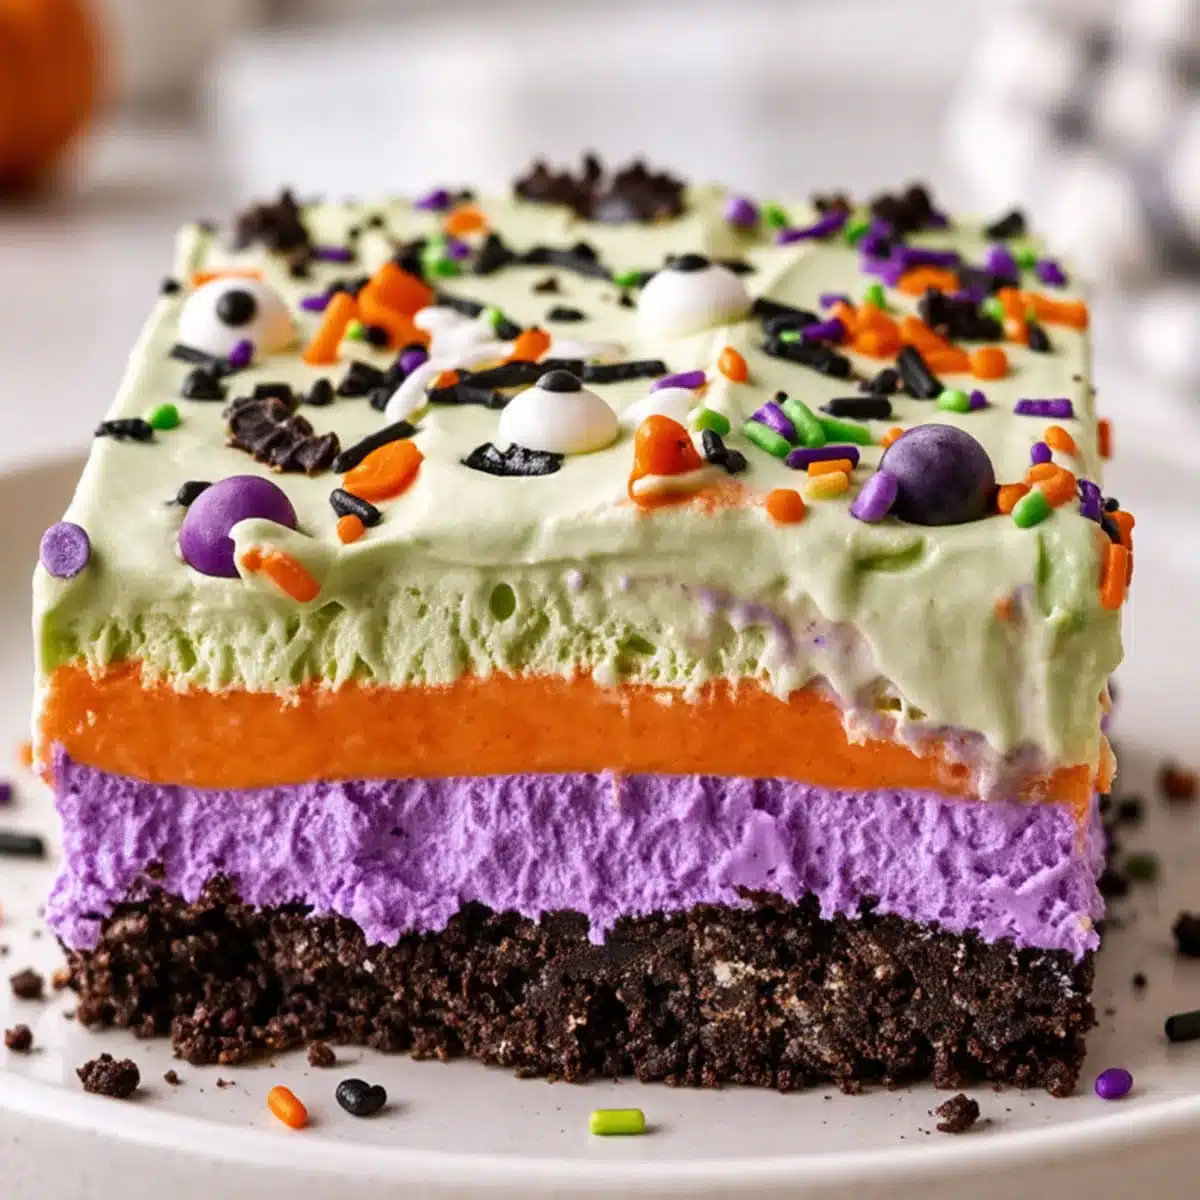
Halloween Lush turns a simple party table into a colorful centerpiece with layers of dark chocolate cookie crumbs, silky purple cheesecake, bright orange pudding, and fluffy green topping. Each chilled bite tastes creamy, tangy, sweet, and deeply chocolatey, while vanilla and orange aromas add a cozy seasonal warmth.
This no-bake Halloween dessert captures the playful spirit of autumn gatherings, when the decorations matter almost as much as the first indulgent bite. Designed as a Halloween dessert lasagna, this layered Halloween dessert is also a convenient make-ahead Halloween dessert for busy hosts. Prepare it the night before, finish it with festive sprinkles, then save the recipe and share a slice with everyone at your celebration.
Quick Answer
Halloween lush is a chilled dessert lasagna made with a buttery chocolate cookie crust, a purple no-bake cheesecake layer, smooth orange-tinted vanilla pudding, and green whipped topping. It takes about 30 minutes to assemble, then needs at least four hours in the refrigerator. This colorful, easy, gelatin-free version serves 16 and works especially well as a make-ahead Halloween party dessert.
One look at those purple, orange, and green layers, and this dessert becomes the center of the Halloween table. The dark cookie base adds chocolate crunch, while the cheesecake and pudding layers make every square cool, creamy, and rich.
This Halloween lush is completely no-bake and deliberately gelatin-free. The orange layer gets its color and optional citrus flavor from gel food coloring and orange extract, so you can create the striking layered look without using gelatin.
What Is Halloween Lush?
Halloween lush is a colorful variation of the classic lush dessert, sometimes called dessert lasagna. There are no noodles involved. The name describes the way several sweet layers are assembled in a rectangular pan and chilled before slicing.
This version begins with crushed chocolate sandwich cookies. A purple cheesecake-style filling goes over the crust, followed by orange vanilla pudding and green whipped topping. Halloween sprinkles add the final texture and color.
Why You’ll Love This No-Bake Halloween Dessert
Four distinct textures: The base is firm and crumbly, the cheesecake layer is rich and creamy, the pudding is silky, and the topping stays light and fluffy.
Perfect for making ahead: The dessert needs several hours to chill, allowing you to finish it before guests arrive.
Easy party portions: One 9-by-13-inch pan makes 16 generous squares or approximately 20 smaller party portions.
No gelatin required: Instant pudding gives the orange layer enough structure without gelatin.
No oven needed: Every layer sets in the refrigerator, making this an easy choice when the oven is already occupied.
Would your Halloween table look better with clean, dramatic layers—or extra candy, cookie pieces, and spooky sprinkles on top?
Halloween Lush Recipe
This recipe uses stabilized whipped topping because it holds its shape during the long chilling period. If you prefer homemade whipped cream, use a stabilized version so the layers remain firm.
Course: Dessert
Prep Time: 30 minutes
Chill Time: 4 hours
Total Time: 4 hours 30 minutes
Servings: 16
Method: No-bake
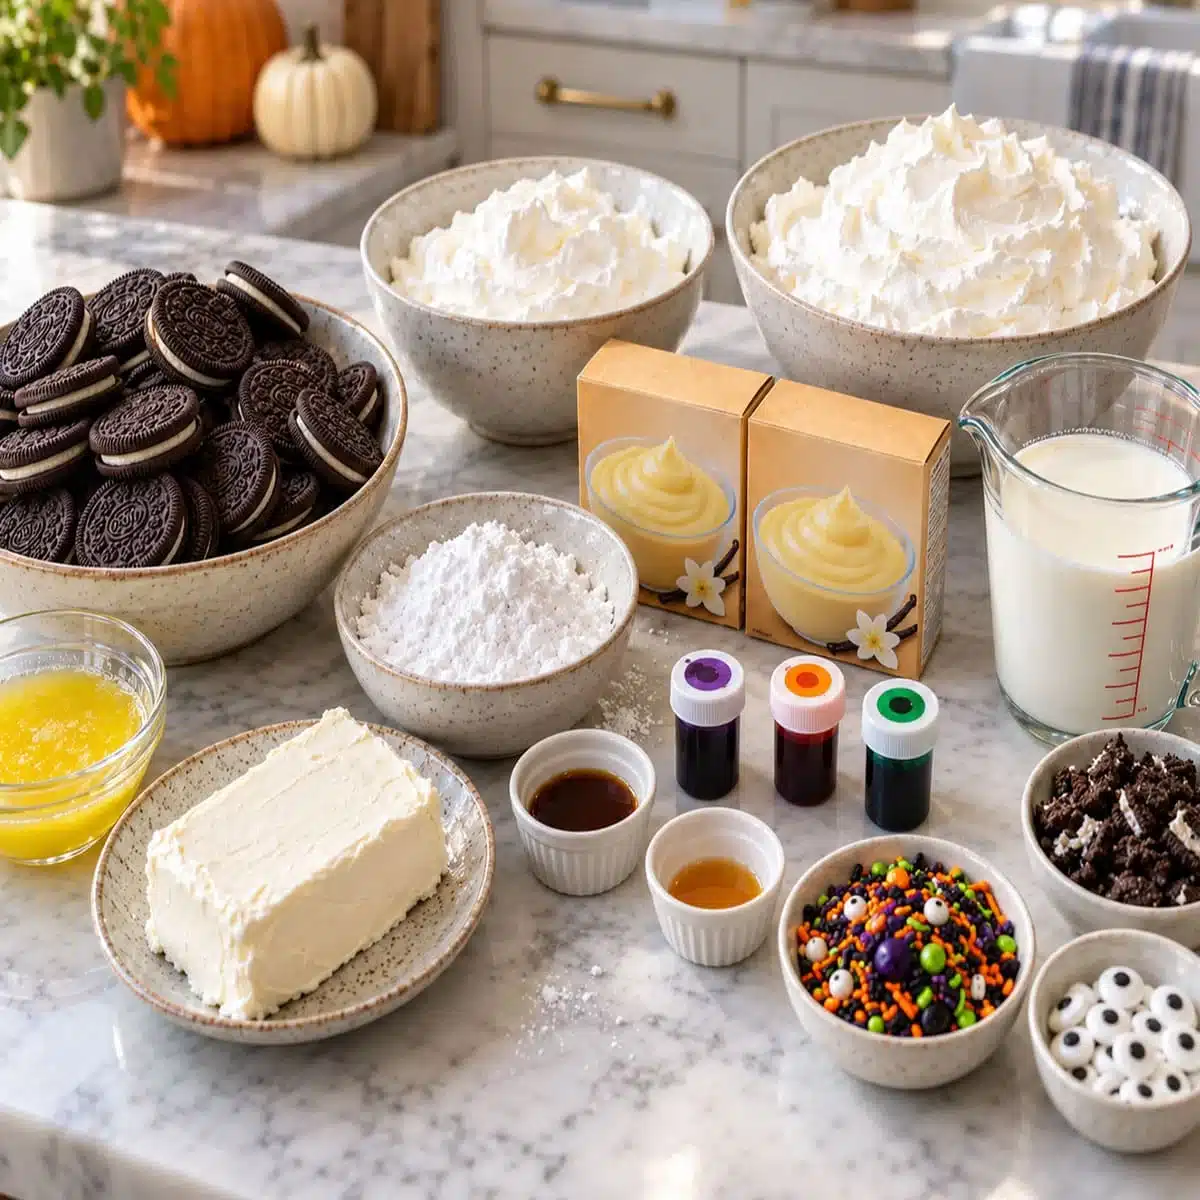
Ingredients
Chocolate Cookie Crust
36 chocolate sandwich cookies, filling included
6 tablespoons unsalted butter, melted
Purple Cheesecake Layer
8 ounces full-fat cream cheese, softened
1 cup powdered sugar
1 teaspoon vanilla extract
2 cups thawed whipped topping
Purple gel food coloring, as needed
Orange Pudding Layer
Two 3.4-ounce boxes vanilla instant pudding mix
2 1/2 cups cold whole milk
1/2 teaspoon orange extract, optional
Orange gel food coloring, as needed
Green Whipped Topping
4 cups thawed whipped topping
Green gel food coloring, as needed
1/3 cup Halloween sprinkles
Candy eyes or crushed chocolate sandwich cookies, optional
How to Make Halloween Lush
Step One: Prepare the Pan
Lightly grease a 9-by-13-inch pan or line it with parchment paper, leaving enough overhang to lift the chilled dessert.
A glass pan is particularly useful because the purple, orange, and green layers remain visible from the sides.
Step Two: Crush the Cookies
Place the chocolate sandwich cookies in a food processor. Pulse until they form fine, evenly sized crumbs.
Pour in the melted butter and pulse again until the mixture resembles damp sand. Scrape the sides of the processor if any dry crumbs remain.
If you do not have a food processor, place the cookies inside a sealed freezer bag and crush them with a rolling pin.
Step Three: Press the Cookie Crust
Transfer the cookie mixture to the prepared pan.
Use the flat bottom of a measuring cup to press the crumbs into a compact, level base. Pay particular attention to the corners and edges, where loose crumbs can make the first slices difficult to remove.
Place the pan in the refrigerator while preparing the next layer.
Step Four: Prepare the Purple Cheesecake Layer
Place the softened cream cheese, powdered sugar, and vanilla extract in a large mixing bowl.
Beat with an electric mixer until completely smooth. Scrape the bottom and sides of the bowl to make sure no cream cheese lumps remain.
Fold in 2 cups of whipped topping using a flexible spatula. Avoid vigorous stirring, which can remove too much air from the filling.
Add purple gel food coloring one drop at a time until the filling reaches your desired color.
Spread the purple cheesecake filling carefully over the cold cookie crust.
Step Five: Make the Orange Pudding
Add the vanilla instant pudding mix and cold milk to a clean mixing bowl.
Whisk for approximately two minutes or until the mixture becomes visibly thicker.
Add the optional orange extract and a small amount of orange gel food coloring. Whisk until the color is even.
Let the pudding stand for five minutes so it can finish thickening.
Step Six: Add the Orange Layer
Place small spoonfuls of orange pudding across the entire purple cheesecake layer.
Distributing the pudding before spreading it reduces the pressure placed on the cheesecake filling underneath.
Use an offset spatula to connect and smooth the spoonfuls into one even orange layer.
Step Seven: Prepare the Green Topping
Place the remaining whipped topping in a clean bowl.
Fold in green gel food coloring one drop at a time. Mix gently until the color is even and no dark streaks remain.
Spread the green topping over the orange pudding using light strokes.
Finish with Halloween sprinkles, candy eyes, or crushed chocolate sandwich cookies.
For the sharpest colors, wait to add delicate sprinkles until shortly before serving.
Step Eight: Chill and Slice
Cover the pan and refrigerate the Halloween lush for at least four hours. Overnight chilling produces the firmest layers and cleanest slices.
For especially neat portions, place the dessert in the freezer for approximately 15 minutes before cutting.
Dip a thin knife in warm water, dry it completely, and make the first cut. Wipe and warm the blade again before every additional cut.
Important Pudding Note
Do not prepare the pudding with the amount of milk printed on the pudding package.
The reduced 2 1/2-cup quantity in this recipe is intentional. It creates a thicker orange pudding layer that holds its shape when the dessert is sliced.
Adding too much milk can make the pudding soft enough to slide over the purple cheesecake layer.
Halloween Lush Layer Guide
| Layer | Texture | Important Detail | Mistake to Avoid |
|---|---|---|---|
| Chocolate cookie crust | Compact and crumbly | Include the cookie filling | Leaving loose crumbs around the edges |
| Purple cheesecake | Rich and fluffy | Use completely softened cream cheese | Overmixing after adding whipped topping |
| Orange pudding | Smooth and sliceable | Use cold milk and instant pudding | Adding too much milk or liquid flavoring |
| Green topping | Light and creamy | Fold in gel coloring gently | Adding color-bleeding sprinkles too early |
15 Pro Tips for Perfect Halloween Lush
- Use gel food coloring. Gel produces vivid color without adding enough liquid to soften the fillings.
- Soften the cream cheese completely. Cold cream cheese creates small white lumps that remain visible in the purple layer.
- Use instant pudding. Cook-and-serve pudding requires a different preparation method and will not set correctly in this recipe.
- Keep the milk cold. Cold milk helps instant pudding thicken quickly and evenly.
- Measure the milk accurately. Even a small amount of extra milk can create a softer orange layer.
- Press the crust firmly. The bottom of a measuring cup creates a more even base than fingertips alone.
- Chill between layers when necessary. If the cheesecake filling feels soft, refrigerate it for 10 minutes before adding the pudding.
- Use an offset spatula. Its flat blade spreads filling without digging deeply into the layer underneath.
- Distribute spoonfuls before spreading. Never drop the entire next layer into the center of the pan.
- Use clean equipment for every color. Purple residue can make orange or green coloring appear muddy.
- Choose sprinkles carefully. Some small nonpareils bleed when refrigerated, while jimmies and larger candy pieces usually hold their color longer.
- Decorate shortly before serving. Candy eyes, cookie pieces, and sprinkles look fresher when added at the end.
- Chill overnight when possible. Extra chilling time stabilizes the creamy fillings and softens the crust just enough for easy slicing.
- Warm and wipe the knife. A clean, slightly warm blade prevents the colors from dragging into one another.
- Serve the dessert cold. The layers become softer as they warm, particularly in a crowded party room.
Halloween Lush Variations
Chocolate Orange Version
Replace one box of vanilla pudding with one box of chocolate instant pudding.
Keep the orange color in the whipped topping, sprinkles, or candy decorations rather than attempting to tint the chocolate pudding.
Individual Halloween Dessert Cups
Divide the cookie crumbs and fillings among 12 clear dessert cups.
Individual cups display the layers, eliminate slicing, and work well for classroom parties or Halloween dessert tables.
Because the portions are smaller, approximately two hours of chilling may be enough. Keep the cups refrigerated until serving.
Gluten-Free Halloween Lush
Use certified gluten-free chocolate sandwich cookies.
Check the labels on the pudding mix, whipped topping, food coloring, sprinkles, and candy decorations. Product formulas can change, so verify every package before using it.
Monster Cookie Topping
Finish the dessert with broken chocolate sandwich cookies, candy eyes, purple jimmies, orange sprinkles, and green candy pieces.
Add crunchy decorations shortly before serving so they stay crisp.
Halloween Lush Without Food Coloring
The food coloring can be omitted completely.
The dessert will have a dark cookie crust, cream-colored cheesecake, pale vanilla pudding, and white topping. Its flavor and texture will remain the same.
Make-Ahead Instructions
Halloween lush is an excellent make-ahead Halloween dessert.
Assemble it up to one day before serving, cover the pan securely, and keep it refrigerated.
For the cleanest appearance, wait to add sprinkles, candy eyes, and crushed cookies until shortly before serving. This prevents the decorations from softening or bleeding into the green topping.
How to Store Halloween Lush
Refrigerator
Cover the pan tightly or transfer individual slices to an airtight container.
Store the dessert in the refrigerator and enjoy it within three to four days for the best texture. The cookie crust becomes softer over time, but the dessert remains flavorful.
Freezer
Halloween lush can be frozen, although the pudding and whipped topping may release a small amount of moisture after thawing.
Freeze undecorated slices in an airtight container for up to one month.
Thaw the dessert overnight in the refrigerator. Do not thaw it at room temperature.
Serving Safety
Because this dessert contains milk, cream cheese, pudding, and whipped topping, keep it refrigerated until serving.
Do not leave the dessert at room temperature for more than two hours. When the surrounding temperature is above 90°F, return it to refrigeration within one hour.
Halloween Lush FAQS
What are some examples of lush desserts?
Popular lush desserts include lemon lush, chocolate lush, strawberry cheesecake lush, pistachio lush, pumpkin lush, and Halloween Lush. Most versions combine a cookie or crumb crust with sweetened cream cheese, pudding, and whipped topping. The flavors and decorations can be changed for different seasons and celebrations.
What are some easy dessert ideas for Halloween?
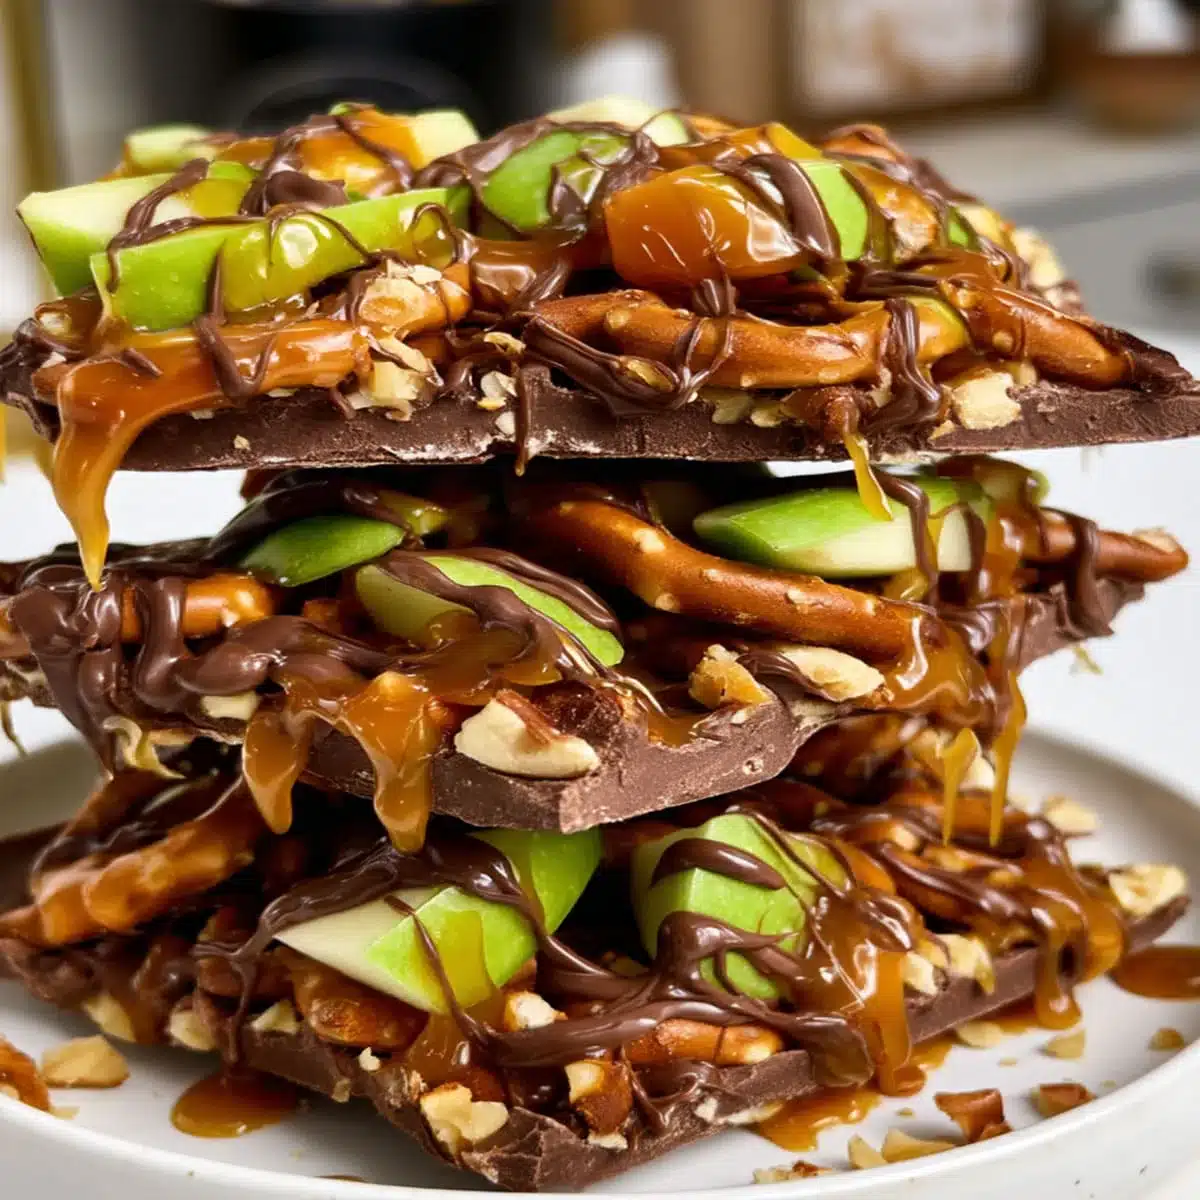
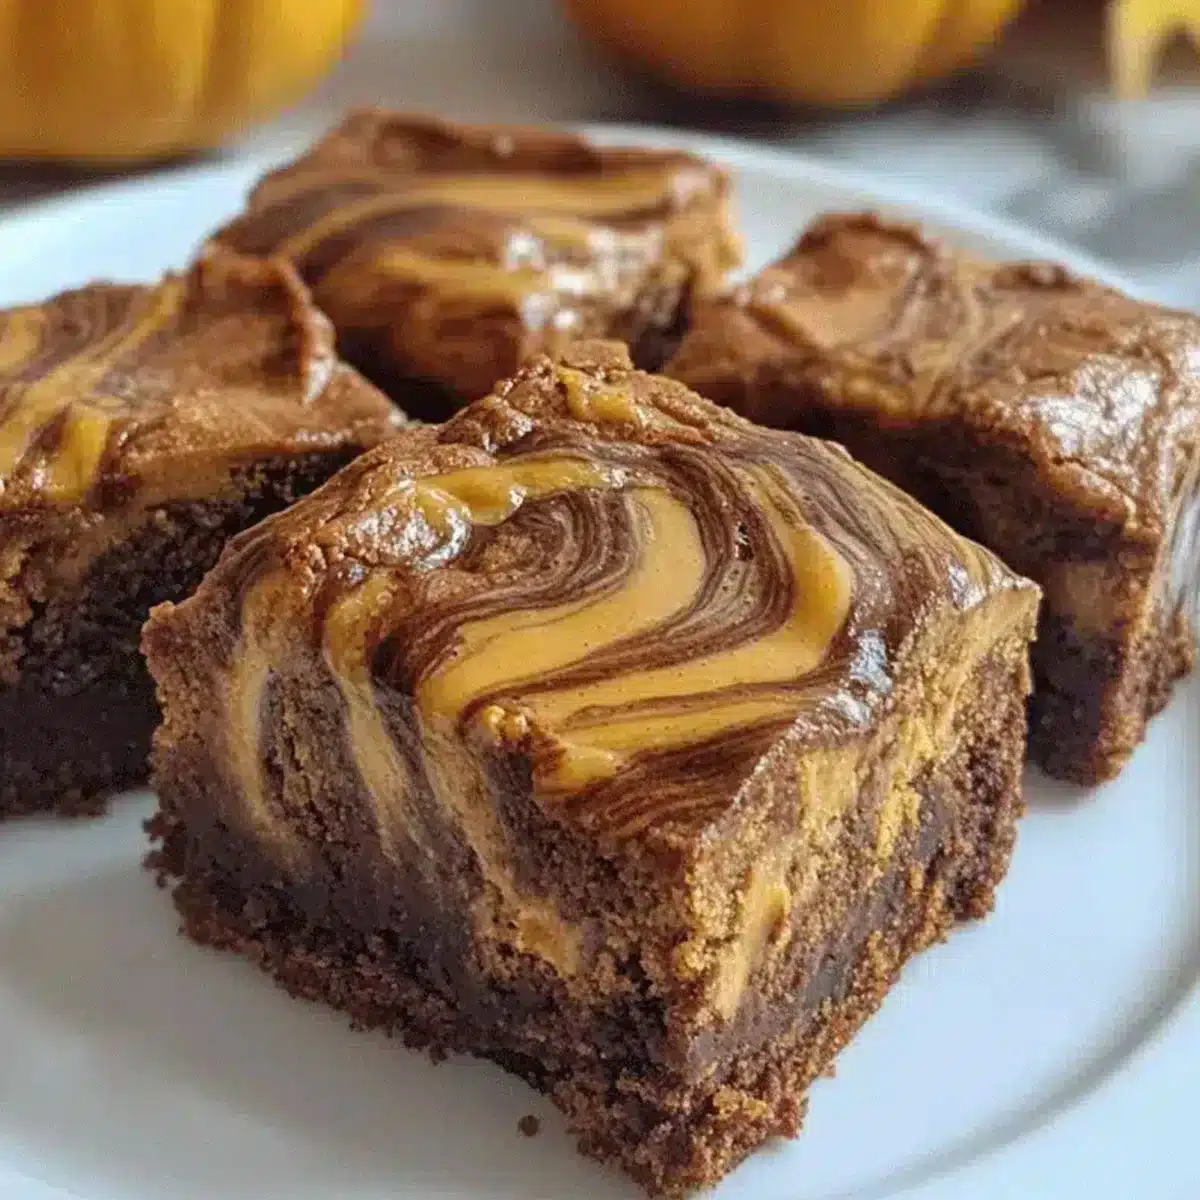
Easy Halloween dessert ideas include Halloween Lush, mummy brownies, ghost-shaped strawberries, monster cookies, graveyard pudding cups, Halloween bark, decorated cupcakes, and pumpkin cheesecake bars. Choose recipes that can be prepared ahead and decorated shortly before serving.
What are some easy no-bake Halloween desserts?
Easy no-bake options include Halloween Lush, Oreo dirt cups, graveyard pudding, cheesecake cups, chocolate Halloween bark, peanut butter cereal treats, and cookie truffles. These desserts are convenient for parties because they can be prepared without using the oven.
What are the ingredients for Halloween graveyard pudding?
Halloween graveyard pudding usually contains chocolate instant pudding, cold milk, crushed chocolate sandwich cookies, and whipped topping. Common decorations include cookie tombstones, candy pumpkins, gummy worms, sprinkles, and candy eyes. Clear cups help display the pudding and cookie “dirt” layers.
Can Halloween Lush be made ahead of time?
Yes. Assemble Halloween Lush up to one day before serving, cover the pan, and refrigerate it overnight. Add sprinkles, crushed cookies, and candy decorations shortly before serving so they remain crisp and do not bleed color into the whipped topping.
A Make-Ahead Halloween Dessert Worth Saving
This Halloween lush dessert creates a dramatic party presentation without turning on the oven. The firm cookie crust, smooth cheesecake, thick pudding, and fluffy topping give every chilled square a distinct texture.
The gelatin-free formula keeps the preparation simple, while the purple, orange, green, and chocolate layers make the dessert instantly recognizable on a Halloween table.
Would you decorate yours with candy eyes or keep the top simple with Halloween sprinkles?
Will you serve it as pan-cut squares or prepare individual Halloween dessert cups?
Related Recipes
If you enjoyed this colorful Halloween lush, try these other easy fall and Halloween desserts next:
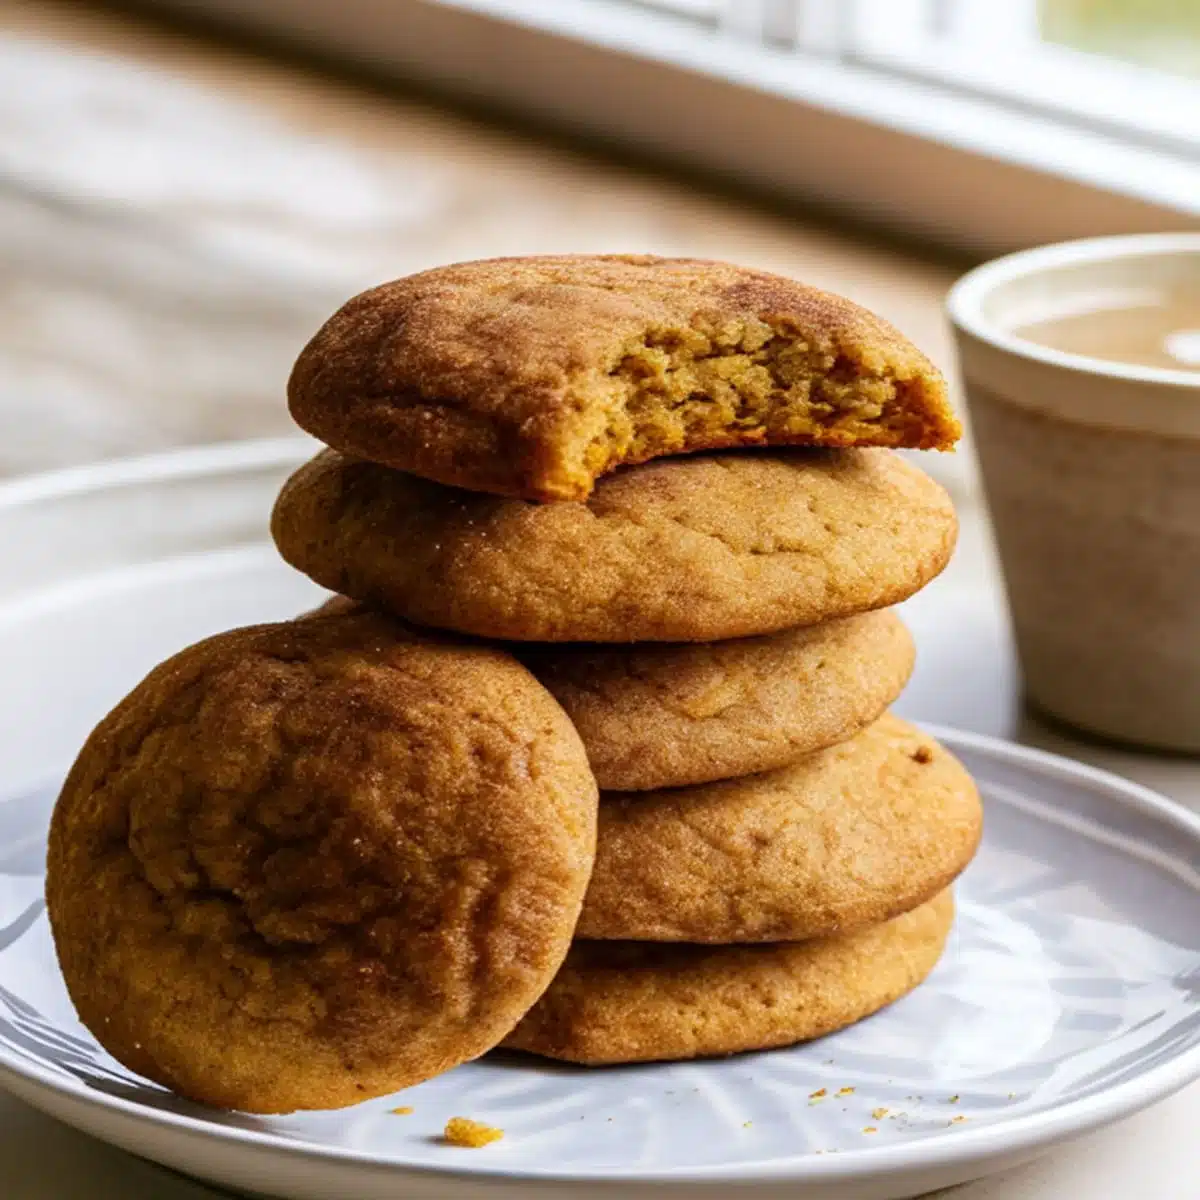
Blueberry Heaven Cookies Recipe – Delicious and Easy Treat
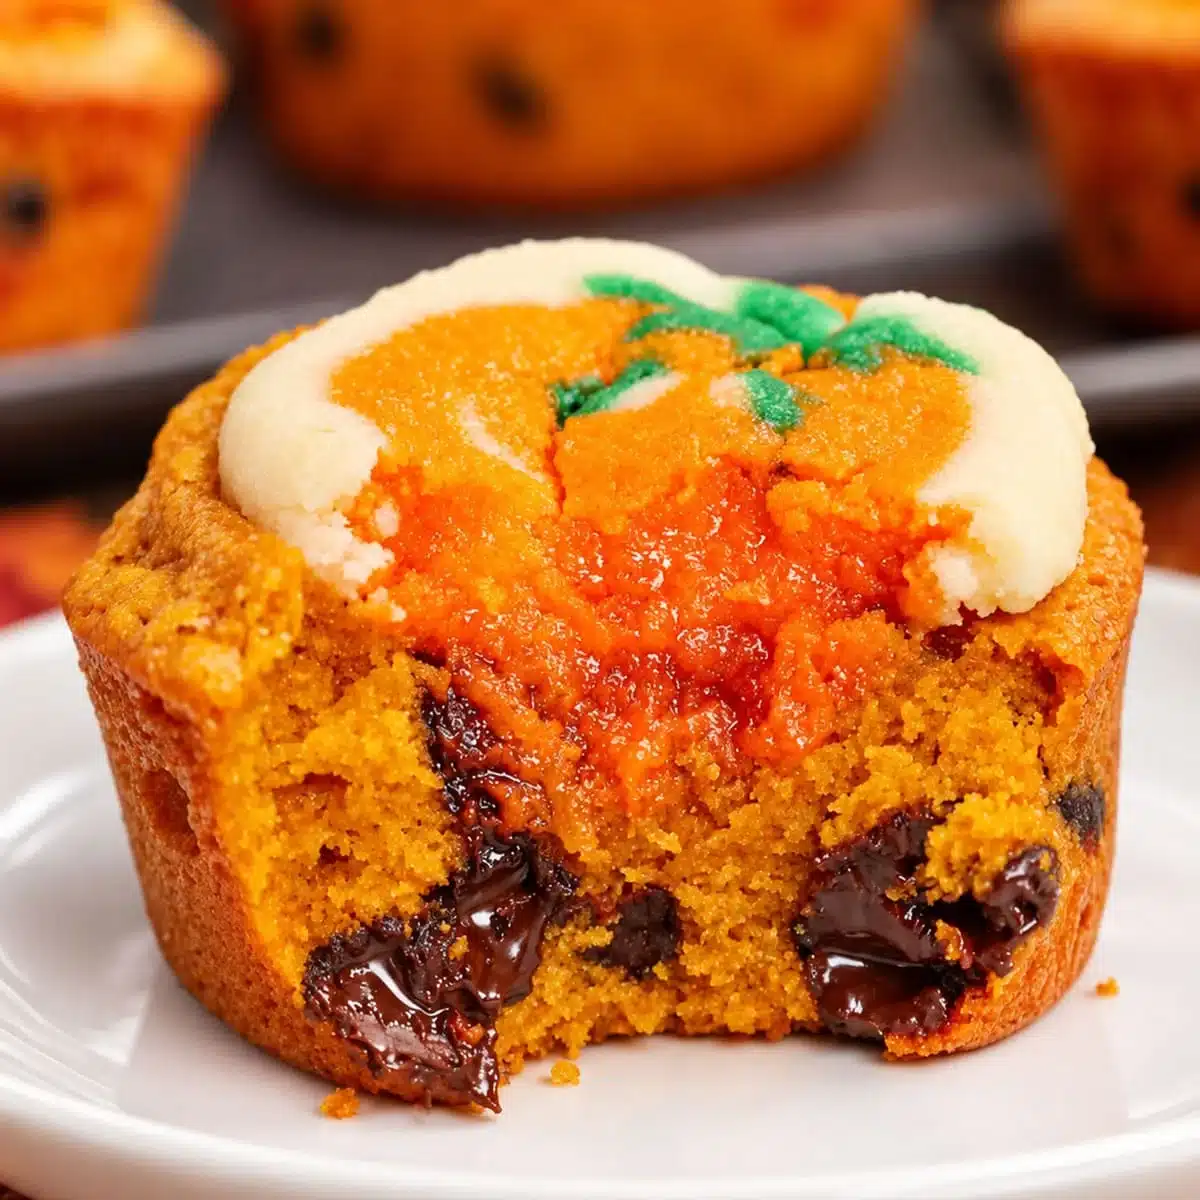
Halloween Sugar Cookie Brownies – 12 Easy Party Cups
Final Thoughts
Halloween lush brings together everything that makes a party dessert memorable: dramatic colors, contrasting textures, easy preparation, and plenty of room for creative decorations.
The chocolate cookie crust gives each serving a firm base, while the purple cheesecake, orange pudding, and green whipped topping create smooth, colorful layers. Because the entire dessert can be assembled ahead of time, you can keep it refrigerated and focus on the rest of your Halloween celebration.
For the best presentation, chill the dessert overnight, add the decorations shortly before serving, and clean the knife between every cut. Whether you serve it in traditional squares or individual dessert cups, this no-bake Halloween dessert is designed to stand out.
Would you decorate your Halloween lush with candy eyes, crushed cookies, or colorful sprinkles?
Which related fall dessert would you make next?