Welcome, food lovers! Today, we’re diving into the world of quick, delicious, and easy-to-make appetizers with our favorite Mexican Tortilla Roll-Ups. This recipe is perfect whether you’re looking for a snack or a fun party dish. Get ready to enjoy the flavors of Tex-Mex with creamy refried beans, zesty chiles, and smooth cream cheese rolled into soft tortillas. Let’s roll up our sleeves and start!
Introduction
Mexican Tortilla Roll-Ups, or Mexican Pinwheels, are a Tex-Mex inspired snack known for their creamy filling wrapped in soft tortillas. These bite-sized delights are perfect for parties, picnics, or even a quick snack. The blend of refried beans, cream cheese, and green chiles provides a balance of flavors that’s both satisfying and convenient. For lovers of Mexican flavors and easy-to-prepare dishes, this recipe is a must-try!
Pro Tip: You can serve these tortilla roll-ups with your favorite salsa or even a dollop of guacamole for added texture and taste.
Ingredients for Mexican Tortilla Roll-Ups
- 16 oz refried beans: Creamy and smooth, this forms the base of our filling.
- 4 oz diced green chiles: Adds a mild spiciness and freshness.
- 8 oz cream cheese: Softened to make mixing easier.
- 1 package of burrito-size tortillas: Choose soft tortillas for easy rolling.
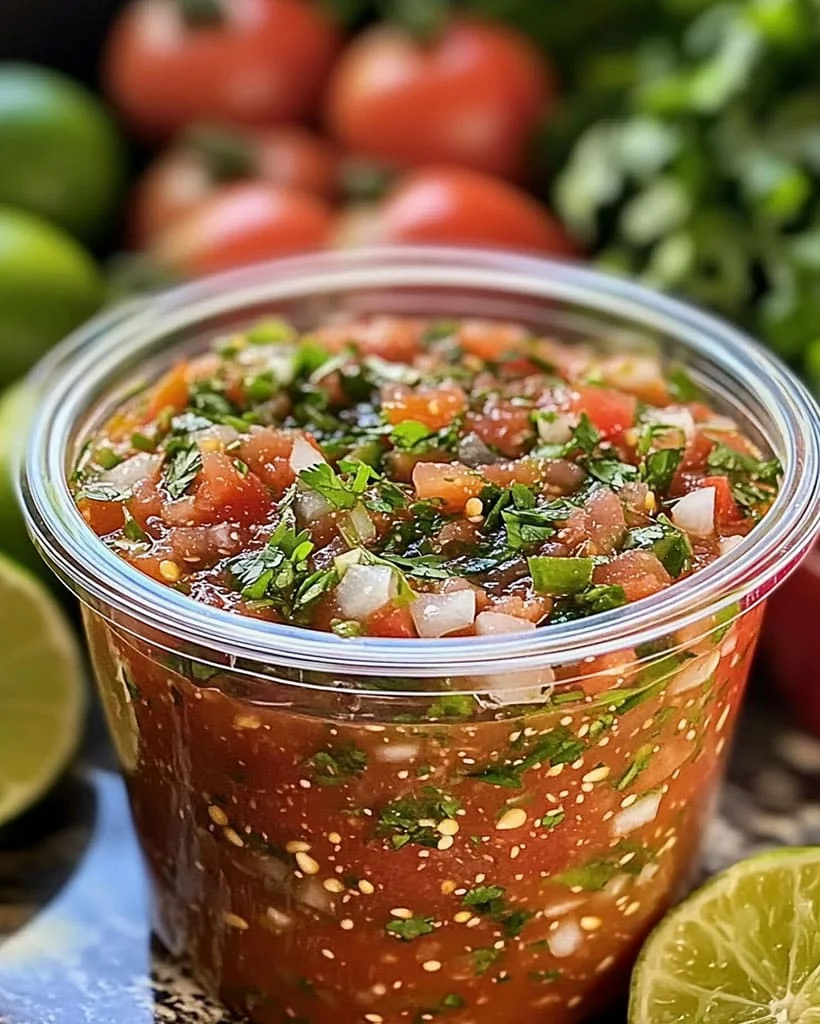
- Salsa: For dipping or serving on the side.
Optional Substitutions:
- For a dairy-free version, substitute cream cheese with a plant-based alternative.
- Use whole wheat or gluten-free tortillas to cater to different dietary needs.
How to Make Mexican Tortilla Roll-Ups – Step by Step
Step 1: Prepare the Filling
In a mixing bowl, combine the refried beans, diced green chiles, and softened cream cheese. Use an electric hand mixer to blend until smooth and well combined.
Pro Tip: Make sure your cream cheese is at room temperature to avoid lumps in the mixture.
Step 2: Assemble the Roll-Ups
Lay out the tortillas and spread the bean mixture evenly across each one. Be careful not to overfill, as this can make rolling difficult.
Pro Tip: Spread the filling all the way to the edges to ensure every bite is flavorful.
Step 3: Roll and Chill
Roll each tortilla up tightly, jelly-roll style. Wrap each rolled tortilla in plastic wrap and refrigerate for at least 2 hours (or up to 24 hours if prepping ahead).
Step 4: Slice and Serve
When ready to serve, remove from the refrigerator and slice the rolls into ½-inch thick pinwheels. Serve with salsa for dipping, and enjoy!
Pro Tip: Use a sharp knife to make clean cuts and prevent the rolls from squishing.
Helpful Tips for Mexican Tortilla Roll-Ups
- Chill for at least 30 minutes: This ensures the roll-ups hold their shape when sliced.
- Customize the filling: Add shredded cheese, chopped jalapeños, or cilantro for extra flavor.
- Use fresh tortillas: They roll better and won’t crack.
Cooking Tips for the Best Mexican Tortilla Roll-Ups
- Best Technique: When rolling the tortillas, keep the filling tight to avoid air pockets.
- Equipment: An electric hand mixer ensures a smooth and creamy filling.
Serving Suggestions for Mexican Tortilla Roll-Ups
Serve these tortilla roll-ups with:
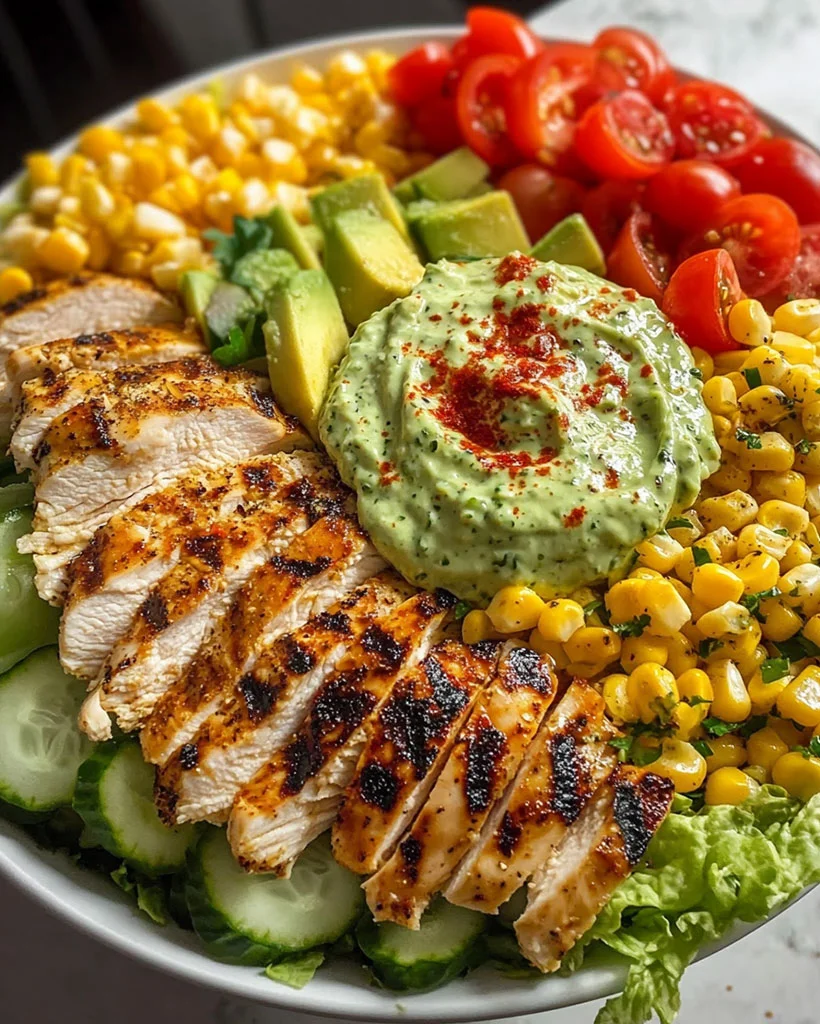
- A side of guacamole or sour cream for added flavor.
- Mexican street corn or a light salad as a refreshing side.
- A chilled beverage like agua fresca to balance the spiciness.
Presentation Tip: Arrange the pinwheels in a circular pattern on a platter and garnish with fresh cilantro for a festive look.
Nutritional Information
These Mexican Tortilla Roll-Ups provide a nutritious and balanced snack. Each serving offers a moderate amount of calories, making it a guilt-free indulgence.
Nutritional Information (per serving):
- Calories: 94kcal
- Fat: 4g
- Carbs: 10g
- Protein: 3g
Storage and Leftovers for Mexican Tortilla Roll-Ups
To store, keep the uncut tortilla rolls in the fridge, wrapped in plastic wrap for up to 2 days. For longer storage, freeze the uncut rolls and thaw them in the fridge before slicing.
Reheating Tip: These tortilla roll-ups are best served cold, but if you prefer, gently warm them in the microwave for a softer bite.
Frequently Asked Questions (FAQs) for Mexican Tortilla Roll-Ups
1. Can I make Mexican Tortilla Roll-Ups ahead of time?
Yes! You can prepare and refrigerate the rolls up to 24 hours in advance.
2. How do I keep the roll-ups from getting soggy?
Ensure the tortillas are completely wrapped to prevent moisture from making them soggy. Also, avoid overfilling with wet ingredients like salsa.
3. Can I freeze Mexican Tortilla Roll-Ups?
Yes, but freeze the uncut rolls for better results. Thaw them in the fridge before slicing and serving.
4. What are some variations of this recipe?
Try adding shredded chicken, taco seasoning, or black beans for extra texture and flavor.
Related Recipes for Mexican Tortilla Roll-Ups Lovers
Explore these related dishes for more Tex-Mex inspiration:
- Ultimate Cowboy Casserole Cornbread – A Hearty Meal
: A filling casserole dish perfect for large gatherings.
- Sausage Balls Recipe with Red Lobster Mix
: Another party favorite with bold flavors.
Conclusion
There you have it, the perfect snack or appetizer for any occasion! These Mexican Tortilla Roll-Ups are not only easy to make but also endlessly customizable. Give them a try and don’t forget to share your personal variations in the comments. We can’t wait to hear how you’ve made this recipe
Print
Mexican Tortilla Roll-Ups – Quick & Easy Appetizer Recipe
Description
Welcome, food lovers! Today, we’re diving into the world of quick, delicious, and easy-to-make appetizers with our favorite Mexican Tortilla Roll-Ups. This recipe is perfect whether you’re looking for a snack or a fun party dish. Get ready to enjoy the flavors of Tex-Mex with creamy refried beans, zesty chiles, and smooth cream cheese rolled into soft tortillas. Let’s roll up our sleeves and start!
Ingredients
- 16 oz refried beans: Creamy and smooth, this forms the base of our filling.
- 4 oz diced green chiles: Adds a mild spiciness and freshness.
- 8 oz cream cheese: Softened to make mixing easier.
- 1 package of burrito-size tortillas: Choose soft tortillas for easy rolling.
- Salsa: For dipping or serving on the side.
Optional Substitutions:
- For a dairy-free version, substitute cream cheese with a plant-based alternative.
- Use whole wheat or gluten-free tortillas to cater to different dietary needs.
Instructions
Step 1: Prepare the Filling
In a mixing bowl, combine the refried beans, diced green chiles, and softened cream cheese. Use an electric hand mixer to blend until smooth and well combined.
Pro Tip: Make sure your cream cheese is at room temperature to avoid lumps in the mixture.
Step 2: Assemble the Roll-Ups
Lay out the tortillas and spread the bean mixture evenly across each one. Be careful not to overfill, as this can make rolling difficult.
Pro Tip: Spread the filling all the way to the edges to ensure every bite is flavorful.
Step 3: Roll and Chill
Roll each tortilla up tightly, jelly-roll style. Wrap each rolled tortilla in plastic wrap and refrigerate for at least 2 hours (or up to 24 hours if prepping ahead).
Step 4: Slice and Serve
When ready to serve, remove from the refrigerator and slice the rolls into ½-inch thick pinwheels. Serve with salsa for dipping, and enjoy!
Equipment

2Pcs Heart Shape Cake Pans, Aluminum Heart Cake Mold, Reusable 10 inch
Buy Now →
Kids Chill Leak-Proof Lunch Box – Included Reusable Ice Pack Keeps Food Cold
Buy Now →Notes
- Chill for at least 30 minutes: This ensures the roll-ups hold their shape when sliced.
- Customize the filling: Add shredded cheese, chopped jalapeños, or cilantro for extra flavor.
- Use fresh tortillas: They roll better and won’t crack.
Cooking Tips for the Best Mexican Tortilla Roll-Ups
- Best Technique: When rolling the tortillas, keep the filling tight to avoid air pockets.
- Equipment: An electric hand mixer ensures a smooth and creamy filling.
your own!