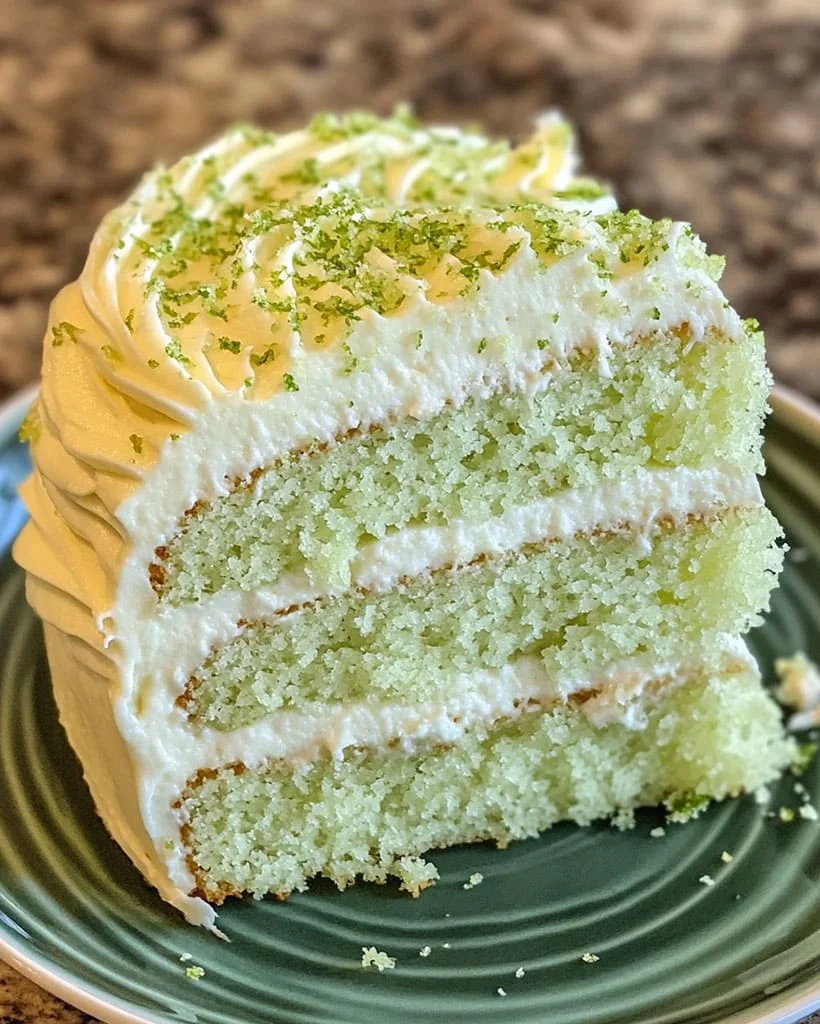
Nothing beats the taste of a homemade creamy coconut cake with a light, fluffy texture and rich coconut flavor. Whether you’re celebrating a birthday, hosting a party, or simply indulging in a sweet treat, this easy coconut cake recipe will be your go-to.
Unlike dry cakes, this moist coconut cake stays soft thanks to a perfect blend of coconut milk, butter, and sour cream. Plus, it’s topped with a silky coconut frosting and finished with shredded coconut for extra texture and flavor.
Let’s get baking! This step-by-step guide will show you exactly how to make a coconut cake from scratch like a pro!
Why You’ll Love This Homemade Coconut Cake
Moist & Fluffy Texture – No dry coconut cake here!
Easy to Make – Perfect for beginners and expert bakers.
Rich Coconut Flavor – Made with real coconut milk and shredded coconut.
Perfect for Special Occasions – A showstopper for birthdays and holidays.
Pairs Well with Coffee or Tea – Enjoy with a latte or coconut-infused tea.
Ingredients for the Best Coconut Cake
For the Cake:
- 2 ½ cups all-purpose flour (or cake flour for extra fluffiness)
- 2 ½ tsp baking powder
- ½ tsp salt
- 1 cup unsalted butter, softened
- 2 cups granulated sugar
- 4 large eggs
- 1 tbsp pure vanilla extract
- 1 cup coconut milk (full-fat for best results)
- ½ cup sour cream (adds moisture)
- 1 cup shredded coconut
Coconut Frosting:
- 1 cup unsalted butter, softened
- 4 cups powdered sugar
- ½ cup coconut milk
- 1 tsp vanilla extract
- 1 ½ cups shredded coconut (for topping)
Substitutions & Variations:
Dairy-Free Version: Use vegan butter and coconut yogurt instead of sour cream.
Gluten-Free Option: Swap flour for a 1:1 gluten-free baking mix.
Extra Flavor Boost: Add almond extract for a richer taste.

How to Make Homemade Coconut Cake – Step-by-Step
Step1: Prepare the Cake Batter
Preheat oven to 350°F (175°C). Grease and flour three 9-inch cake pans.
In a medium bowl, whisk together flour, baking powder, and salt. Set aside.
Step2: Cream the Butter & Sugar
In a large mixing bowl, beat butter and sugar until light and fluffy (about 3-4 minutes).
Add eggs one at a time, mixing well after each. Stir in vanilla extract.
Step3: Combine Wet & Dry Ingredients
Gradually add the dry ingredients, alternating with coconut milk and sour cream, mixing just until combined.
Fold in shredded coconut for added texture.
Step4: Bake the Cake
Divide the batter evenly among the prepared pans and smooth the tops.
Bake for 22-25 minutes, or until a toothpick inserted in the center comes out clean.
Let cakes cool in the pans for 10 minutes, then transfer them to a wire rack to cool completely.
Step5: Make the Coconut Frosting
In a large bowl, beat butter until creamy.
Gradually add powdered sugar, then mix in coconut milk and vanilla extract until smooth.
Step6: Assemble the Cake
Place one cake layer on a serving plate. Spread a generous amount of coconut frosting over the top.
Repeat with the remaining layers, covering the entire cake with frosting.
Step7: Garnish & Serve
Sprinkle shredded coconut over the frosted cake.
Chill for 30 minutes before slicing to set the frosting. Enjoy!
Pro Tips for the Best Coconut Cake
Use Room Temperature Ingredients – Ensures even mixing.
Do Not Overmix – Overmixing can make the cake dense.
For Extra Moisture – Add 1 tbsp of vegetable oil to the batter.
Chill Before Slicing – Helps the frosting set.
Toasted Coconut Garnish – Toast shredded coconut for extra flavor.
How to Store & Freeze Coconut Cake
Refrigerate: Store in an airtight container in the fridge for up to 5 days.
Freeze: Wrap individual slices and freeze for up to 3 months.
Reheat: Let frozen slices thaw at room temperature or microwave for 10-15 seconds.
FAQs – Answering Your Baking Questions
Can I make this cake ahead of time?
Yes! Bake the cake layers a day in advance and frost them before serving.
Can I use sweetened coconut instead of unsweetened?
Yes, but it will make the cake sweeter. Adjust sugar accordingly.
How can I make this cake dairy-free?
Use vegan butter, coconut yogurt instead of sour cream, and coconut whipped cream.
Related Recipes You’ll Love
-
Easter Poke Cake – Best Easy Easter Dessert Recipe
-
Homemade Green Chocolate Chip Cookies – Easy Recipe
Final Thoughts
Now you know how to make the best homemade creamy coconut cake! This cake is moist, fluffy, and packed with coconut flavor—perfect for any celebration.
Have you tried this recipe? Let us know in the comments below and share your photos!
📌 Save this recipe for later by pinning it on Pinterest!
👍 Follow us for more delicious recipes on [Facebook]

Homemade Creamy Coconut Cake – Easy Recipe
Description
Nothing beats the taste of a homemade creamy coconut cake with a light, fluffy texture and rich coconut flavor. Whether you’re celebrating a birthday, hosting a party, or simply indulging in a sweet treat, this easy coconut cake recipe will be your go-to.
Unlike dry cakes, this moist coconut cake stays soft thanks to a perfect blend of coconut milk, butter, and sour cream. Plus, it’s topped with a silky coconut frosting and finished with shredded coconut for extra texture and flavor.
Let’s get baking! This step-by-step guide will show you exactly how to make a coconut cake from scratch like a pro!
Ingredients
For the Cake:
- 2 ½ cups all-purpose flour (or cake flour for extra fluffiness)
- 2 ½ tsp baking powder
- ½ tsp salt
- 1 cup unsalted butter, softened
- 2 cups granulated sugar
- 4 large eggs
- 1 tbsp pure vanilla extract
- 1 cup coconut milk (full-fat for best results)
- ½ cup sour cream (adds moisture)
- 1 cup shredded coconut
For the Coconut Frosting:
- 1 cup unsalted butter, softened
- 4 cups powdered sugar
- ½ cup coconut milk
- 1 tsp vanilla extract
- 1 ½ cups shredded coconut (for topping)
Substitutions & Variations:
Dairy-Free Version: Use vegan butter and coconut yogurt instead of sour cream.
Gluten-Free Option: Swap flour for a 1:1 gluten-free baking mix.
Extra Flavor Boost: Add almond extract or rum for a richer taste.
Instructions
Preheat oven to 350°F (175°C). Grease and flour three 9-inch cake pans.
In a medium bowl, whisk together flour, baking powder, and salt. Set aside.
In a large mixing bowl, beat butter and sugar until light and fluffy (about 3-4 minutes).
Add eggs one at a time, mixing well after each. Stir in vanilla extract.
Gradually add the dry ingredients, alternating with coconut milk and sour cream, mixing just until combined.
Fold in shredded coconut for added texture.
Divide the batter evenly among the prepared pans and smooth the tops.
Bake for 22-25 minutes, or until a toothpick inserted in the center comes out clean.
Let cakes cool in the pans for 10 minutes, then transfer them to a wire rack to cool completely.
In a large bowl, beat butter until creamy.
Gradually add powdered sugar, then mix in coconut milk and vanilla extract until smooth.
Place one cake layer on a serving plate. Spread a generous amount of coconut frosting over the top.
Repeat with the remaining layers, covering the entire cake with frosting.
Sprinkle shredded coconut over the frosted cake.
Chill for 30 minutes before slicing to set the frosting. Enjoy!
Equipment

2Pcs Heart Shape Cake Pans, Aluminum Heart Cake Mold, Reusable 10 inch
Buy Now →
Kids Chill Leak-Proof Lunch Box – Included Reusable Ice Pack Keeps Food Cold
Buy Now →Notes
Use Room Temperature Ingredients – Ensures even mixing.
Do Not Overmix – Overmixing can make the cake dense.
For Extra Moisture – Add 1 tbsp of vegetable oil to the batter.
Chill Before Slicing – Helps the frosting set.
Toasted Coconut Garnish – Toast shredded coconut for extra flavor.